
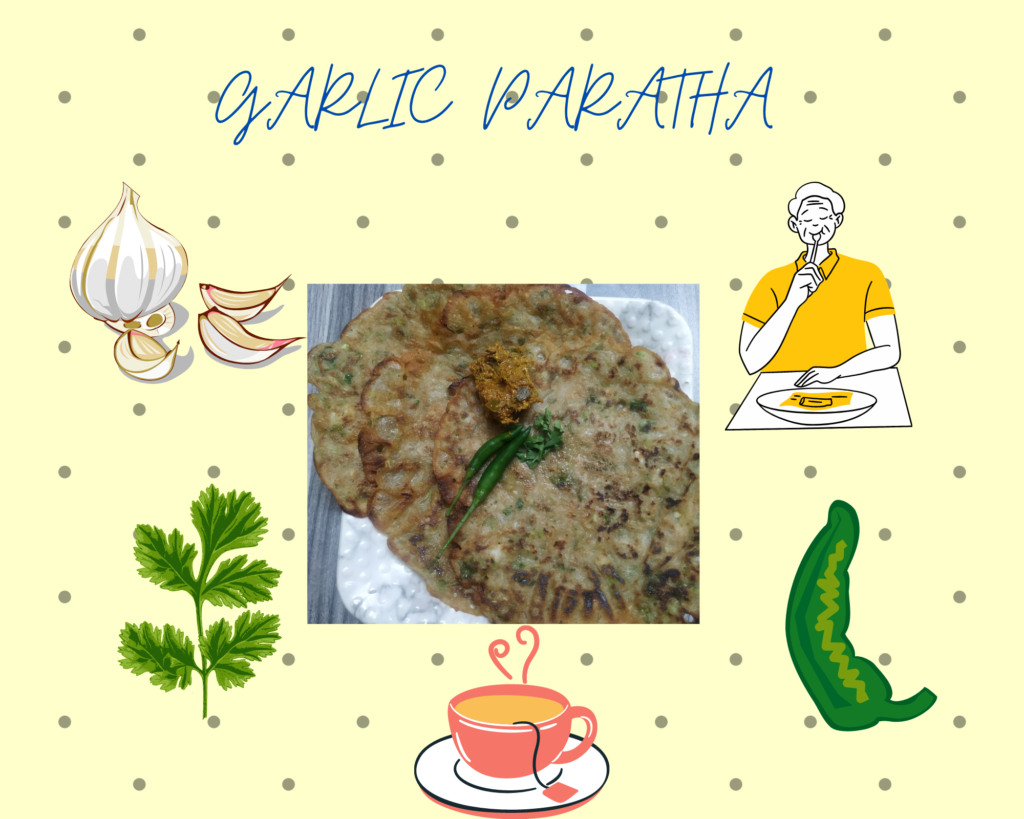
GARLIC PARATHA
I make the Garlic paratha with a liquid dough and hence this paratha is super easy to make as well as tasty and the fun part is you do not need to knead the dough. Garlic and onion belong to the same family and are grown in many parts of the world for their distinct taste and aroma. Because garlic gives a delicious taste and aroma when added to any dish and is extremely healthy, garlic is very popular.
HEALTH BENEFITS OF GARLIC:
- Garlic is an excellent medicinal herb. Manganese, vitamin c, selenium and fibre are present in large amounts in garlic and hence it is healthy.
- It is beneficial to treat high blood pressure and cholesterol and as a result, garlic is good for heart.
- Good cholesterol (HDL) level gets boosted with regular intake of raw garlic and this in turn helps the heart also.
- Some researchers also believe that if you consume garlic for a considerable amount of time, then your fasting blood sugar might get controlled also.
INGREDIENT LIST OF GARLIC PARATHA:
- Maida (all-purpose flour)-1 cup
- Garlic-6 cloves, shredded or finely chopped.
- Green Chilli- Finely chopped (2 pcs)
- Coriander- finely chopped
- Coriander powder-1 teaspoon
- Cumin powder-1 teaspoon
- Red chilli powder-1 teaspoon
- Semolina(Suji)- Half teaspoon
- Gram flour(Besan)-Half teaspoon
- Salt- To taste
- Water- For the dough
- Ghee/oil for frying
Cooking time:
Resting time- 20 minutes
Frying Time: 5 minutes
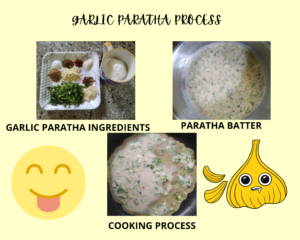
PROCESS:
PREPARATION OF THE BATTER:
- In a mixing bowl, add the flour.
- I add the shredded garlic, chopped chilli, coriander leaves and dry spices as well as the salt.
- I add besan and semolina to the batter for making crispy parathas.
- I add very little semolina and besan to the batter or else the batter will become lumpy.
- Add salt to taste.
- To the mixture, add water slowly. The batter will be very runny if you add too much water at once.
- The batter should be of proper consistency meaning neither thick nor runny.
- The water should be at room temperature.
- If I have added too much water, then I add a bit more flour and salt and dry spices to balance it.
- Please mix all the ingredients thoroughly and ensure no lumps are there in the mixture.
- Add one teaspoon of oil to the batter.
- I allow the batter to settle for about 20 minutes so that all the flavours get can come together.
FRYING THE GARLIC PARATHA:
- I heat a Tawa or a frying pan on high heat.
- I heat the pan very hot so that when I pour the dough it does not stick to the pan.
- I apply clarified butter or ghee or oil (you do according to your choice) to the pan.
- With the help of a ladle, I slowly spread the liquid dough on the pan and spread it evenly.
- I do not add too much batter or else my paratha will not become crispy and will not cook properly and the centre will remain raw.
- My ladle is medium and so one and a half spoonfuls are enough to make a decent-sized garlic paratha.
- Keep the flame on medium to low and please ensure that one side of the paratha is cooked properly.
- After one side is fried and cooked properly, then only you should flip the paratha. While cooking, I press the sides gently so that it gets cooked all over.
- Press the paratha gently on the centre also to cook evenly all over.
- Please be cautious while flipping the other side of the paratha as it might break.
- Serve immediately with a pickle or raita(whichever you prefer).
HOW TO SERVE:
- You should serve garlic paratha hot.
- Pickles and raita go well with garlic paratha.


Hello there, I do think your website may be having browser compatibility issues. When I take a look at your web site in Safari, it looks fine however when opening in IE, it has some overlapping issues. I just wanted to provide you with a quick heads up! Apart from that, excellent blog.
thanks for your feedback. surely will look into it.